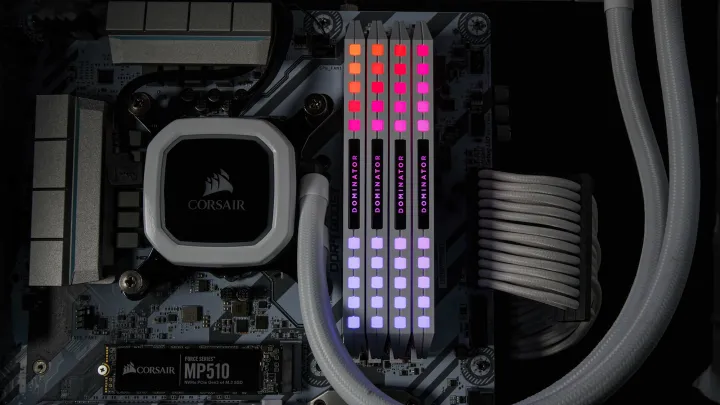
Building your first custom PC can be an exciting yet daunting task. Whether you’re a gamer, a content creator, or simply looking to upgrade your current system, assembling your own computer allows for a tailored experience that pre-built systems often can’t match. Here are ten essential tips to guide you through the process of building your first custom PC.
1. Set a Budget
Before you start buying components, it’s crucial to establish a budget. Determine how much you’re willing to spend overall and allocate funds to different parts accordingly. Remember to include peripherals like a monitor, keyboard, and mouse if you don’t already have them.
2. Define Your Purpose
Identify the primary purpose of your custom PC. Are you building it for gaming, video editing, graphic design, or general use? Your intended use will influence the selection of components. For instance, a gaming PC will require a powerful GPU, while a workstation for video editing might prioritize a high-performance CPU and ample RAM.
3. Research Components
Spend time researching each component to ensure compatibility and performance. Key parts include the CPU, GPU, motherboard, RAM, storage (SSD/HDD), power supply, and case. Websites like PCPartPicker can help you ensure that all your chosen components are compatible with each other.
4. Choose the Right CPU and GPU
The CPU (Central Processing Unit) and GPU (Graphics Processing Unit) are critical to your PC’s performance. For gaming, the GPU is more important, while for tasks like video editing or 3D rendering, the CPU plays a larger role. Balance your budget between these two components based on your needs.
5. Pick a Compatible Motherboard
The motherboard should match your CPU socket and support your chosen RAM and other peripherals. Consider the form factor (ATX, Micro-ATX, Mini-ITX) based on the size of the case you want and ensure it has the necessary ports and slots for future upgrades.
6. Invest in Quality RAM
RAM (Random Access Memory) is vital for smooth multitasking and overall system performance. For gaming, 16GB is typically sufficient, but for more intensive tasks like video editing, 32GB or more might be necessary. Ensure the RAM is compatible with your motherboard in terms of type (DDR4, DDR5) and speed.
7. Storage Solutions
Choose a combination of SSD and HDD for storage. An SSD (Solid State Drive) will significantly speed up boot times and application loading, while an HDD (Hard Disk Drive) provides more storage space at a lower cost. Consider NVMe SSDs for even faster performance.
8. Power Supply Unit (PSU) Matters
A reliable PSU is crucial for the stability and longevity of your PC. Ensure it provides enough wattage for all your components and has the necessary connectors. It’s better to invest in a high-quality, efficient PSU to avoid potential damage to your components.
9. Optimal Cooling Solutions
Proper cooling is essential to maintain your system’s performance and longevity. Consider both air and liquid cooling solutions. Ensure your case has good airflow and enough space for your cooling setup. Don’t forget to apply thermal paste correctly on the CPU.
10. Plan Your Build and Cable Management
Before you start assembling, plan your build. Follow a logical order: install the CPU, RAM, and cooler on the motherboard first, then place the motherboard in the case, followed by the GPU, storage, and power supply. Good cable management not only makes your build look clean but also improves airflow and makes future upgrades easier.
Final Thoughts
Building your first custom PC is a rewarding experience that gives you complete control over your system’s performance and aesthetics. By following these essential tips, you can avoid common pitfalls and create a machine that perfectly suits your needs. Remember to take your time, double-check compatibility, and enjoy the process of bringing your custom PC to life. Happy building!


